Using Bruguera Jerusalem Artichokes
By Mike Duff
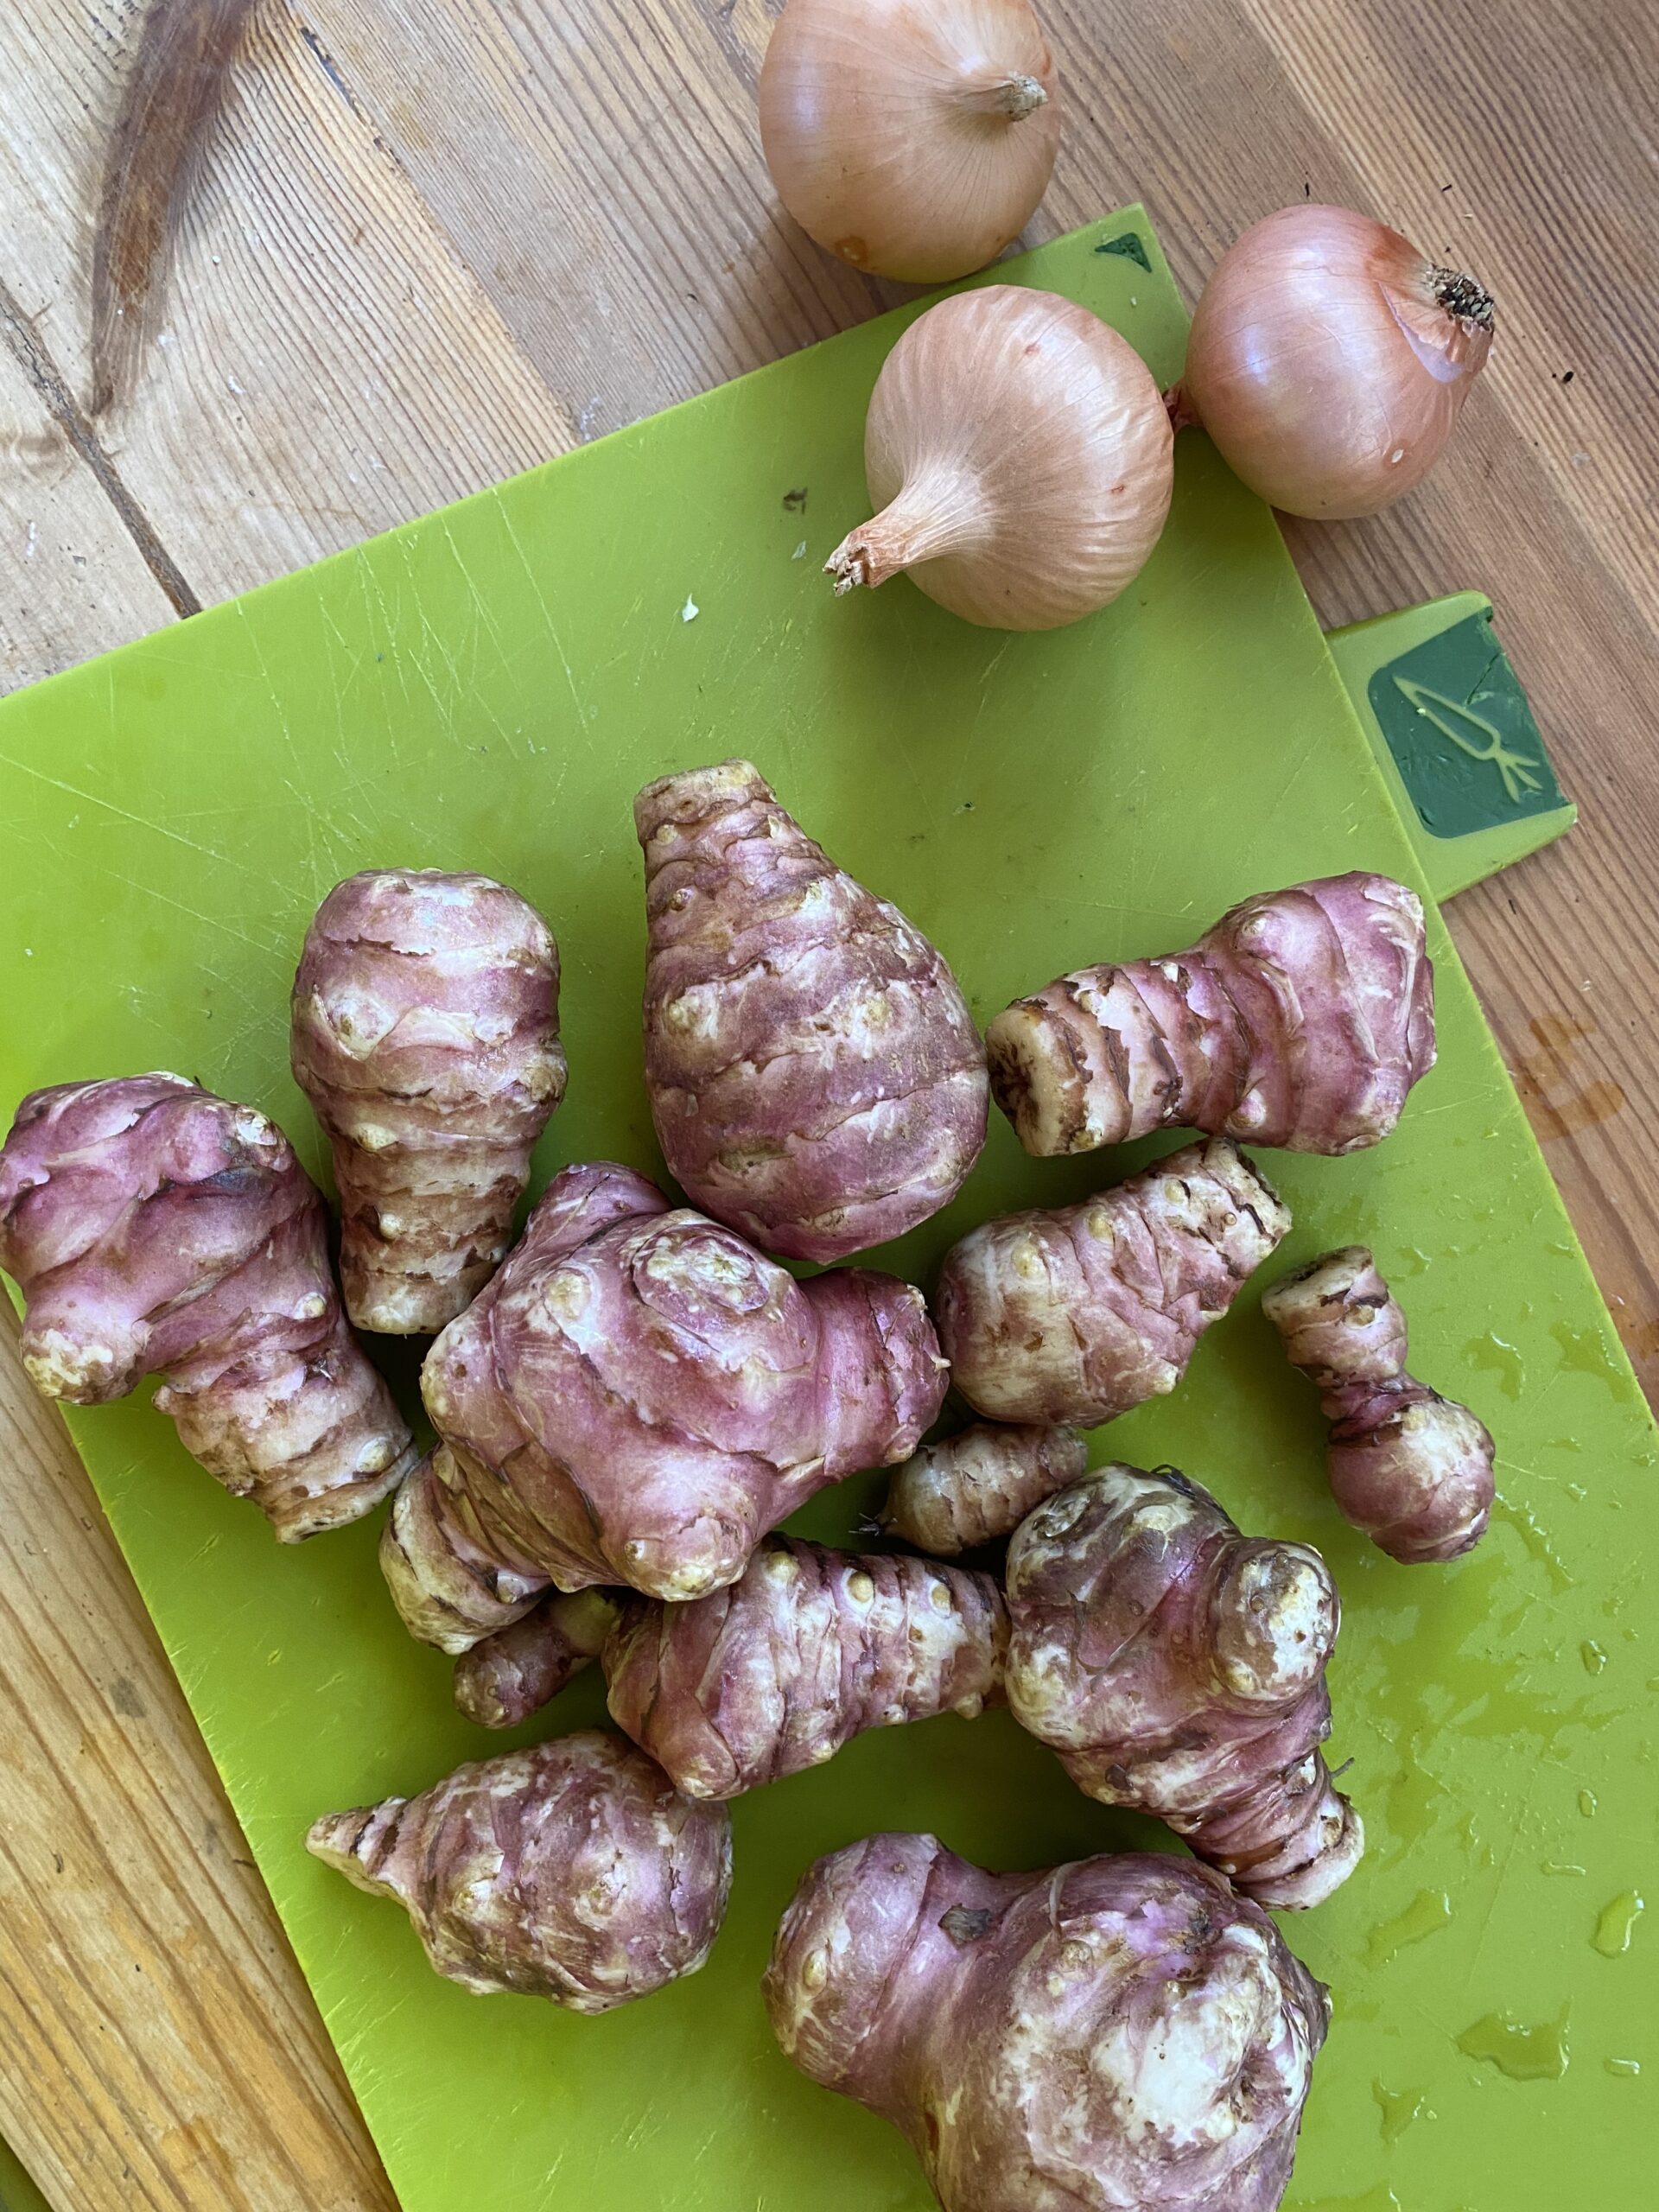
This time of year means we are swimming in Jerusalem Artichokes (Helianthus Tuberosus) – yum! Lots of people don’t know this humble, super easy-to-grow tuber, native to North America but brought over to Europe ages ago (like me), and it is so versatile and delicious, so we thought we would share a bit of love for it here on the blog today.
Why they are cool
Flowers
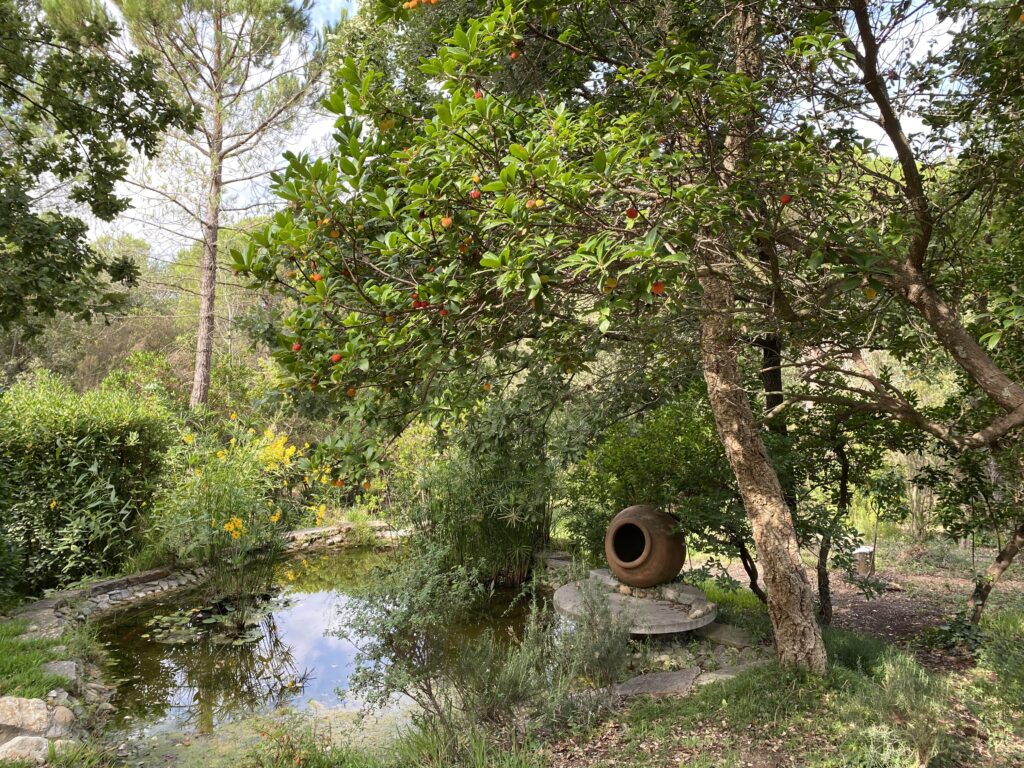
The flowers! They produce these massive yellow flowers, that look akin to sunflowers (they are in the same family!), and also sit atop great tall stems like those lovely flowers that make us think of the Tour-de-France. So beautiful! In the picture below, they are the burst of yellow at the back of the pond, on the left.
Easy to grow
Sooooo easy – get ahold of one, throw it in a little hole in the ground, and come back three quarters of a year later to harvest loads of them, after having appreciated the flower and the massive jack-in-the-beanstalk style plant for a few months.
Long-lasting
Once the plant dies, you can leave these bad boys in the ground for several months, and they stay fresh! Or harvest them and keep them like you would potatoes – they are super long lasting.
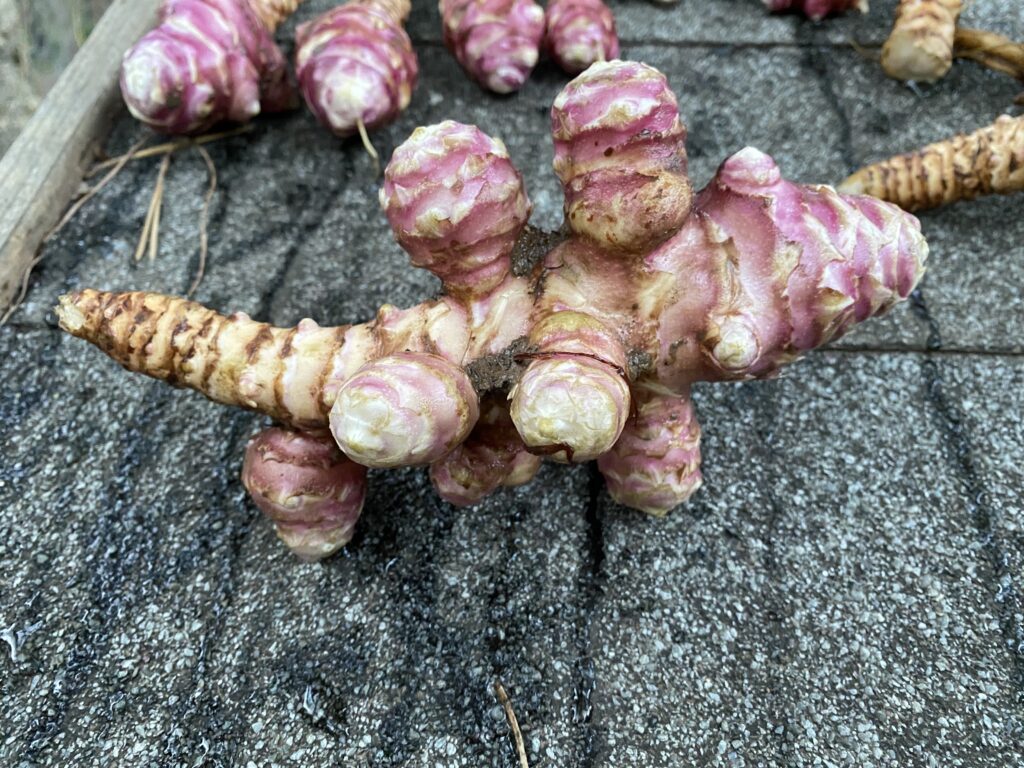
Prolific
One little chunk of tuber will make you a plant, which gives you 5, 6, 7, 10 or more tubers! The better your soil and the closer you plant them to a water source, the better. We threw a bunch of chunks of tuber into the wet soil near a pond that had a little leak, thinking we might as well make the leak a resource, right? The JAs were super happy, and now we have tons.
Not only are they prolific, they pretty much re-seed themselves. You’ll never get them all out in a harvest, and you are bound to have them pop up there the following year without having to do much. Some people call this an “invasive plant” – with a bit of management this becomes a “large quantity of free food with a nice flower on top”.
Nutritious
JAs have a relatively similar nutritional profile to potatoes – but a nuttier more interesting flavour. There is no fat, or cholesterol in them, and they have a lot of dietary fibre (non-starchy carbs), and a relatively small amount of minerals and vitamins. They have a tonne of iron -probably the highest amount of most of the commonly munched tubers among 21st century occidental eaters. Lots more nutrition data on them here.
Names
It is important to note that they are not from Jerusalem, and they are not artichokes either. Some people think that the name is actually a bad English corruption of Girasole Articiocco , an early Italian common name for them which literally means Sunflower (‘cause they look like one) and Artichoke (‘cause at a push they sort of taste like one?).
On top of that their common names are pretty funky. For starters the Catalan ones – Nyàmera and Tupinambo (a Castellanisme from the Spanish Topinambor) are good for a chuckle, but they are also known as Sunchokes, Earth Apples.
A Word of Warning
Some people get – ahem – a bit, well, gassy, in a word, after eating JAs. This is said to be because of the amount of “roughage” in them – inert carbs which do not get digested in the gut. If you are new to them, try a small amount first and see what happens.
But never fear…
We have found that fermenting them, which is a form of pre-digestion, gets rid of this problem entirely (to those of it happens to – it is not everyone, and it changes as you get used to them). We have also found that peeling them before using them in a soup drastically reduces the, um, emissions (producing noted improvements in air quality in the local microclimate).
Recipes
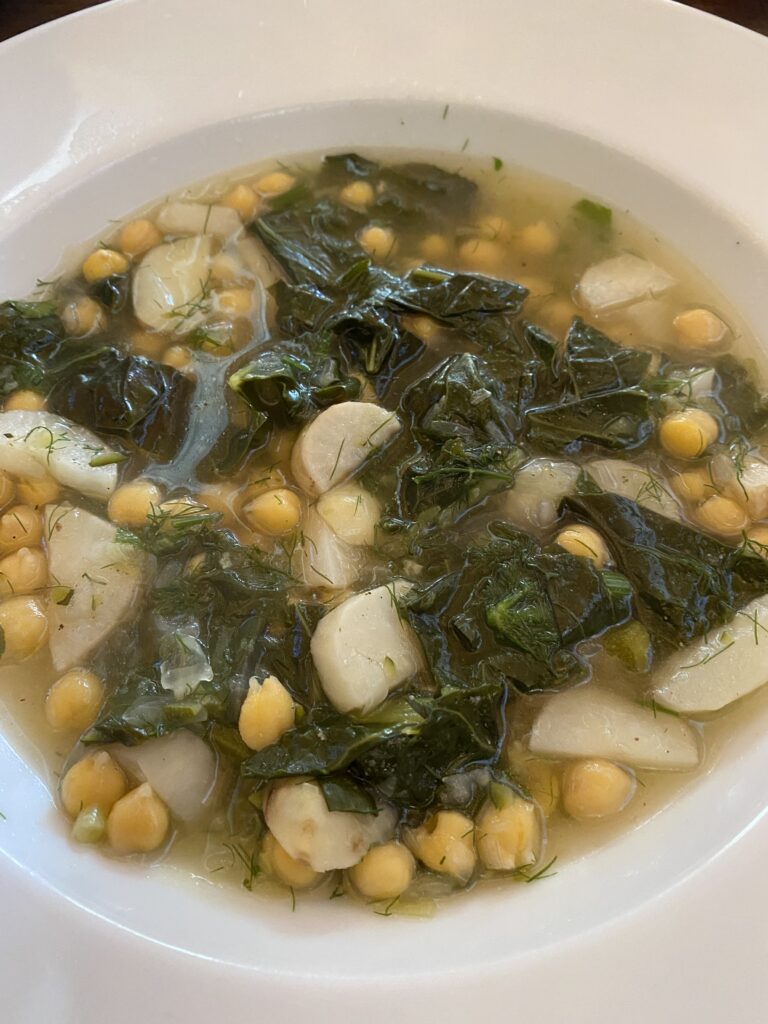
Recipe 1: Jerusalem Artichoke, Pumpkin and Potato Soup
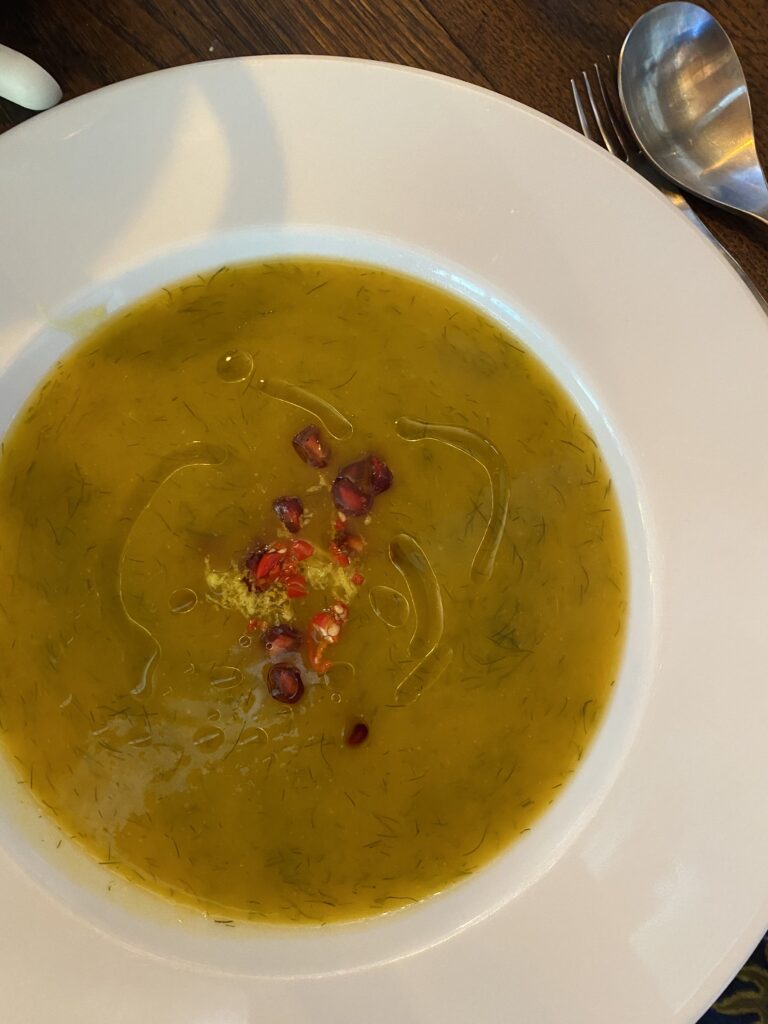
They are soooooo nice in SOUP! This is one we have served here to great acclaim. Recipe follows below the pic!
INGREDIENTS
- 1/2 Pumpkin or a Butternut Squash
- 5-6 Jerusalem Artichokes
- 3-4 Potatoes
- 1 onion chopped
- 4 cloves of garlic, chopped
- ½ a lemon, juiced
- 50 ml Cream or a couple tbsp of Mascarpone or Coconut Yogurt (vegan version)
- 750ml of stock, or water
- Salt and Pepper to taste
- A few handfuls of kale and/or chard
- Parsely or Coriander or Chilli or Pomegranate or whatever you fancy, for garnish, as you wish!

INSTRUCTIONS
- Peel the pumpkin and cut into chunks.
- Cut the knobbly bits off the Jerusalem artichokes, peel (as much as you can without losing too much flesh) and dice.
- Put the chopped onion and 3 of the chopped garlic cloves in a pot with a few good splurges of olive oil and fry for a few minutes until nicely softened.
- Add the pumpkin and the artichokes and let them roast deliciously for a few minutes. Take care not to let any of it burn.
- Add the 750ml of stock, or water, and whack a lid on the pot.
- Let it simmer for about 15-20 minutes, until the veg is soft, and will blend up easily.
- Whilst it is simmering, this is a good moment to fry up the kale and/or chard in some lovely olive oil, with the remaining chopped clove of garlic, and let it fry until it is soft and ready to eat. This can be from 3 to 10 minutes, depending on how you like it. To our taste, which leaves the Kale “al dente”, 5 minutes is always enough.
- Blend with a stick blender until it’s silky, creamy and sumptuous looking. Taste it!
- Season it with salt & pepper (this will vary depending on whether or not you chose to use stock or water in step 5), and if you feel like it, you could always add a bit of nutmeg or cinnamon at this point.
- If you like your soup to have a tang – this is a good moment to add the juice of half a lemon (or more – taste, taste, taste it, and you decide!)
- Then add the cream or mascarpone or coconut yogurt if you want it to be over the top creamy, but honestly you can skip this step if you want to avoid the fats.
- Chop the parsley (or use coriander if that goes better with the seasoning you chose above). We serve it up in a flat bowl, with a glug of oil (chilli oil if you are Mike!) and a handful of the fried up kale in the centre. ENJOY!
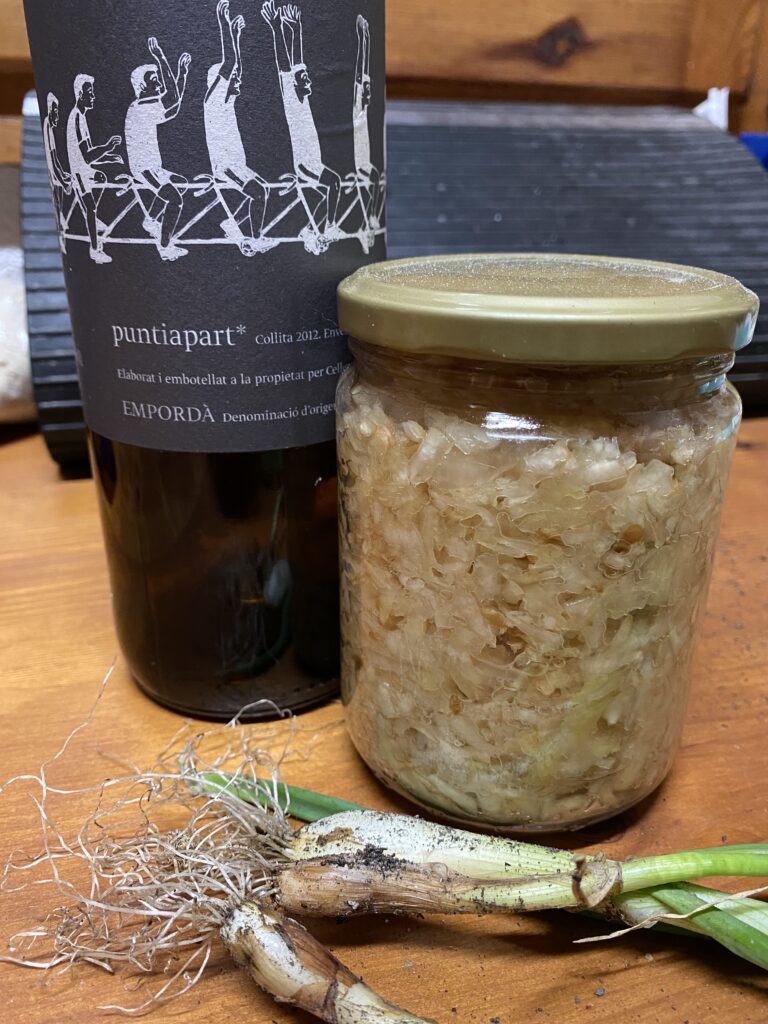
Recipe 2: Fermented Jerusalem Artichoke
Here is a quick ferment recipe, for Jerusalem Artichoke too. If you are new to fermentation you can always sign up for one of our fermentation masterclasses, but honestly, it is so easy you could follow the instructions below and dive right into the wonderful world of fermentation too!!
You will quickly see that fermentation is a world unto itself. There are soooo many ways of doing it. This recipe uses the Lacto-Fermentation Technique – which is essentially preserving vegetables in salt, keeping their nutritional properties live for much longer than they would last in a dry/cold store. Depending on the water content of the vegetables, this is also done by preserving them in salt water.
The ferment we explain here is delicious on its own, on crackers, mixed into a salad (totes amazeballs this way, in fact), or as an hors d’oeuvre. There always seem to be new ways to work ferments into meals. And they are great for you – filling your gut with good probiotic bacteria.
You’ll need the following EQUIPMENT:
- Jars, with lids (we re-use jars, and have managed to avoid buying new ones for the last few years, but always make sure the lids of your re-used jars attach nicely, and aren’t rusting on the inside or out)
- Grater
- Mixing bowl
- Possibly a dishtowel or cheesecloth
INGREDIENTS
- Jerusalem Artichoke (as many as you have got and want to ferment)
- Onion (one small one per jar)
- Dried whole chillies (to taste – Michelle puts 0 per jar, Mike puts 3)
- Green Apple (half the volume of your JAs – you can do this by eye)
- Salt – good quality, and pure salt, with NO iodine – 1 tablespoon per jar
- Water a few tablespoons per jar of non-chlorinated water (if your water is chlorinated by your local authority, let it stand overnight, open to the air (like with a cheesecloth or dishtowel over it) and the chlorine will evaporate. If you can’t wait, boil it for 10 minutes, or learn to be more patient.
INSTRUCTIONS
- Grate your Jerusalem Artichokes (you can peel them first if you want – we tend to clean them only, as the skin is nutritious, we are not aiming for a white soup of consistent colour and the fermentation will pre-digest the skin which will eliminate the farty issue described in the “Word of Warning ” section above).
- Chop your onion to a similar size/consistency as the grated JAs.
- Core your green apples, then grate them too. Again, we don’t peel the green apples – the peel adds another nice colour to the ferment, and why waste it?
- Put all of the chopped up fruit and veg above into a mixing bowl, and do a rough visual evaluation of how many of your jars you will need to hold it all, assuming it is compressed to about half of its size as it sits loose in the bowl.
- Add as many tablespoons of salt to the mixing bowls, as the number of jars you have calculated in the previous step.
- Massage the salt into the grated and chopped veg with your fingers! Do this for 1 or 2 minutes until the salt is nicely mixed into the whole mass, evenly.
- Leave the salty veg in the bowl for 10 minutes, and let the salt begin to work the water in the fruit and veg loose.
- Once 10 minutes has passed you’ll see some liquid at the bottom of the mixing bowl, under the grated fruit and veg. Start scooping it into the jars, and squishing it down a bit, into the jars. Fill them to about 1cm below the edge of the jar, and make sure there is a coating of water/liquid over any fruit/veg sticking up. Once their lids are on, place them right side up, on a plate, or a tray or something you don’t mind getting wet.
- 24 hours later – gently and slowly take the jar off of each jar, without angling the jar, to let some air out. You will likely hear bubbling and fizzing. You might not on day 1, but you certainly will on day 2! Letting the gas out is called “burping” and you should do it once or twice a day, to make sure your jars don’t get too pressurised. After 3 to 5 days, the build up of gas should level off, and you can either stick your jars into your cool pantry or cold store, where the flavours will continue to develop as the fermentation continues. You can store ferments in a cool dry environment for months, if not years.
- You can, at this point, also taste the ferment, and see if you like it after a short 3 to 5 day fermentation period. You might! If so, to [almost completely] stop the fermentation process, and hence “freeze” the flavour where it is, put the jars in the fridge, where the 4 to 6 degree temp of the fridge will significantly slow down the fermenting.
New to this? Don’t worry!
There is very little that you can do wrong with fermentation. It IS a science, obviously, but being a natural process, a huge degree of variation is possible, depending on what you ferment, the bacterias on the vegetables you use, the minerals in your water, the quantity of water in your veg, and the amount of water that you use. Don’t worry!! Follow your eyes and nose – that is what they evolved for – to keep you out of danger – if you create something that has green mould all over it, and stinks like a music festival toilet, don’t eat it! Trust yourself. Failing that, you can add a Fermentation experience to your stay with us here, and let us show you how!
Further Reading
The Art of Fermentation by Sandor Elix Katz, is the go-to book on Fermentation, and a bit of a cult bible in the field. It has 100s of different recipes for ferments from all around the world, and loads of the background science is simply explained.
Further Viewing
Here is a video of Sandor speaking to the people at Slow Food on reviving fermentation as a sustainable delicious food practice:
Stay In Touch!
Stay up to date with the goings on at La Bruguera by joining our newsletter here! Sign up to receive a short update on what’s happening at La Bruguera, recommendations from the team, and a notification when a new blog is out. We promise not to spam you.
